Please follow these instructions precisely when installing your kit since we cannot replace kits damaged by improper installation
|
|
|
You will need:
1. Soft cotton cloths and cotton swabs
2. Adhesion promoter (supplied with kit)
3. Isopropyl Alcohol (supplied with kit)
4. Wax & Grease Remover (available in hardware stores)
5. Heat gun or a hair dryer
|
|
|

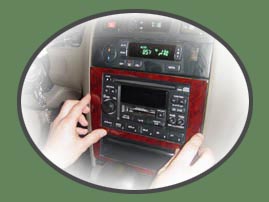
Without removing the red liner and exposing the adhesive, make
sure each piece sure each part of your kit fits correctly in its
designated place. If something doesn't match or looks damaged, please
contact us right away. |

|

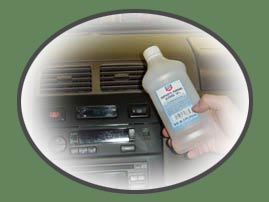
IF DASH TREATMENTS SUCH AS ARMOR-ALL WERE APPLIED, wipe all
dash surfaces the trim will be attached to, with a clean cotton
cloth dampened with wax & grease remover. The surface must
be perfectly oil free. Do not use strong lacquer thinners because
it might eat through the plastic and destroy the lettering. You
must repeat this process several times to ensure thorough cleaning
of the dash, or the pieces will not adhere properly. We recommend
Prep-ALL.
|
|

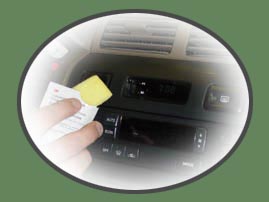
Enclosed with your kit is an alcohol pad. Use it to clean the surface
where the part is going to be attached. Clean with alcohol even
if you just cleaned with the lacquer thinner to get rid of the oil.
Do not clean the new dash trim pieces with alcohol; it will
destroy the glossy finish. |
|

Use the adhesion promoter on the areas where the dash will be attached.
Make sure they are fully dry before continuing the process. Once
the promoter packet is opened, it dries fairly quickly, so do this
step for all areas without interruption. |
|

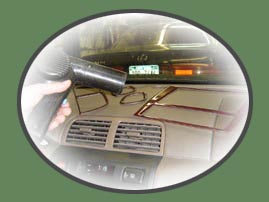
The interior of the car must be warm. The new dash trim pieces
must be gently warmed as well until they become a little more flexible.
This can be accomplished by laying the pieces on top of the dash
and letting the sun or the car heater warm them. The new pieces
can also be warmed with a heat gum or a hair dryer. |
|

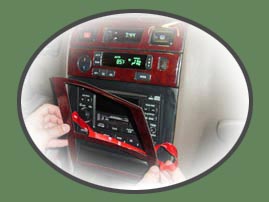
Make sure your hands are clean before you proceed. If a piece
is small enough, the entire red liner can be removed at once and
you can move on to step 8. For large parts, position the dash piece
in place and begin carefully pulling back top half and removing
the red liner. After this, starting in the middle and moving towards
the top, carefully push the dash into position. |
|

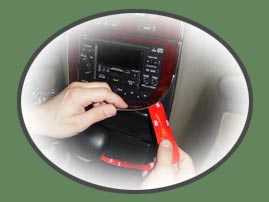
Slowly lift the lower side of your 350z dash kit and pull away the rest of the red liner backing. Going from the middle towards the bottom, press the dash into its correct position.
|
|

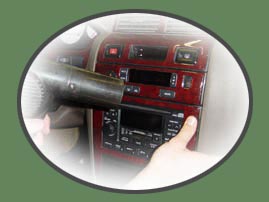
For the final step, apply finger pressure on the dash to place it
into its correct position while using a hair dryer to gently warm
it. DO NOT OVERHEAT THE DASH.
|
*
You can clean your new beautiful dash with a glass cleaner or
furniture polish (such as Pledge) applied with a clean soft cotton
cloth.
|